The 5-Minute Makeover: Simple Design Tweaks That Transform Amateur Slides into Professional Ones
We’ve all been there. You’re about to give a presentation, and despite your best efforts, your slides look like they were designed by someone whose last artistic achievement was a macaroni necklace in kindergarten. The content is solid, but visually? Let’s just say it’s not winning any design awards.
The good news? You don’t need a design degree or hours of tinkering to dramatically improve your slides. As someone who has rescued countless presentations from the brink of visual disaster, I’ve identified several quick fixes that can transform amateur-looking slides into polished, professional ones in just minutes.
The Amateur Slide: What Gives It Away?
Before we dive into the fixes, let’s identify the telltale signs of an amateur slide:
- Cluttered layouts with no clear visual hierarchy
- Default templates that scream “I didn’t try”
- Rainbow color schemes that would make a unicorn blush
- Tiny, unreadable text competing for attention
- Poorly chosen images that look like afterthoughts
- Inconsistent formatting throughout the deck
Any of these sound familiar? Don’t worry – we’re about to fix them all.
Makeover #1: Establish a Proper Grid
Time required: 30 seconds per slide
Amateur slides often suffer from random placement of elements – text boxes here, images there, with no apparent logic to their positioning. The quick fix? Create an invisible grid.
Most presentation software has alignment guides and grid options. Turn them on. Then, simply align your elements to this grid. This one step alone can make your slides look intentionally designed rather than haphazardly assembled.
Pro tip: Use the “distribute” function to create equal spacing between multiple elements. It’s like magic for instantly creating visual harmony.
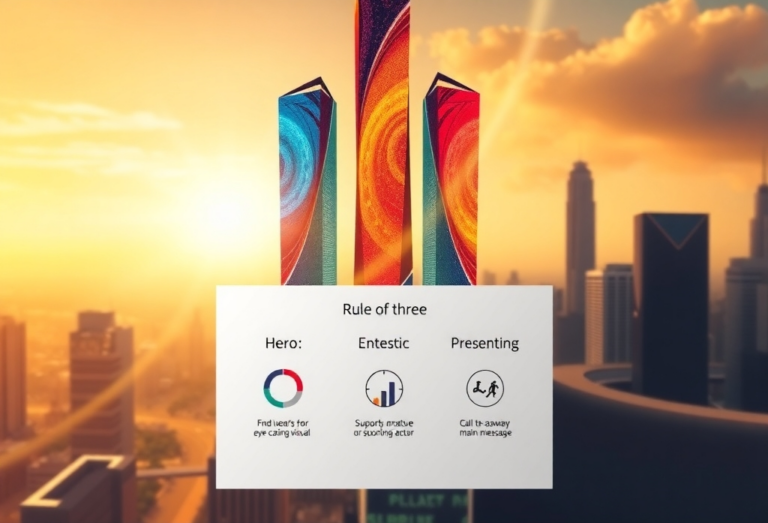
Makeover #2: The Three-Font Maximum Rule
Time required: 2 minutes for the entire presentation
Nothing screams “amateur” like a presentation that uses seven different fonts. The simple rule? Limit yourself to three fonts maximum:
- One for headlines
- One for body text
- One accent font (optional, for callouts or emphasis)
Better yet, stick with two complementary fonts – one serif and one sans-serif. Apply them consistently throughout your deck, and suddenly your presentation has a cohesive, professional look.
Remember: Comic Sans is not your friend. Neither is Papyrus. Ever.
Makeover #3: The Color Intervention
Time required: 1 minute
That rainbow color scheme? It’s time for an intervention. Professional slides typically use a limited, intentional color palette. Here’s how to fix yours in 60 seconds:
- Choose one primary color (often from your company’s branding)
- Select 1-2 complementary colors for accents
- Add black, white, and perhaps one gray for balance
Not sure which colors work together? Websites like coolors.co can generate harmonious color schemes instantly. Apply your new palette consistently, and your slides will immediately look more sophisticated.
Makeover #4: The White Space Revelation
Time required: 30 seconds per slide
Amateur designers fear empty space. Professional designers embrace it. White space (empty areas) isn’t wasted space – it’s breathing room that makes your content more digestible and impactful.
The fix? Remove 30% of the content from your most crowded slides. Seriously. If you can’t bear to part with that information, create additional slides instead of cramming everything onto one. Your audience will thank you for the visual breathing room.
Makeover #5: The Image Upgrade
Time required: 1 minute per image
Those pixelated, generic stock photos aren’t doing you any favors. Replace them with high-quality, relevant images that enhance your message rather than distract from it.
Better yet, consider using a single, powerful image that fills the entire slide with your text overlaid (properly contrasted, of course). This one change can instantly elevate your presentation from boardroom basic to TED Talk territory.
Pro tip: When using photos of people, choose ones that show them looking toward your text, not away from it. This naturally guides the viewer’s eye to your content.
Makeover #6: The Text Diet
Time required: 30 seconds per slide
If your slides require a magnifying glass to read, you’ve got too much text. Period.
The fix is simple but requires courage: Delete, delete, delete. Cut your text by 50%. Then cut it again. Keep only the essential words that support what you’ll be saying.
Remember that your slides are meant to complement your presentation, not be a teleprompter. If you can read your entire presentation from your slides, you’ve already lost your audience.
Makeover #7: The Consistent Formatting Pass
Time required: 2 minutes for the entire presentation
Amateur slides often suffer from inconsistent formatting – different text alignments, varying image sizes, and headings that change position from slide to slide.
The quick fix? Do a dedicated review looking only at formatting consistency. Check that:
- All headlines are in the same position
- All body text uses consistent alignment
- All images are similarly sized and positioned
- All bullets or numbering use the same style
This final pass brings everything together and gives your presentation that polished, professional feel.
The 5-Minute Finale: Master Slides
Time required: 5 minutes (one time only)
Want to know the secret weapon of presentation designers? Master slides. Taking five minutes to set up properly formatted master slides will save you hours of formatting time and ensure consistency throughout your deck.
Define your layouts, text styles, and positioning once, then apply them with a click. It’s the difference between building each slide from scratch and having a professional template system at your fingertips.
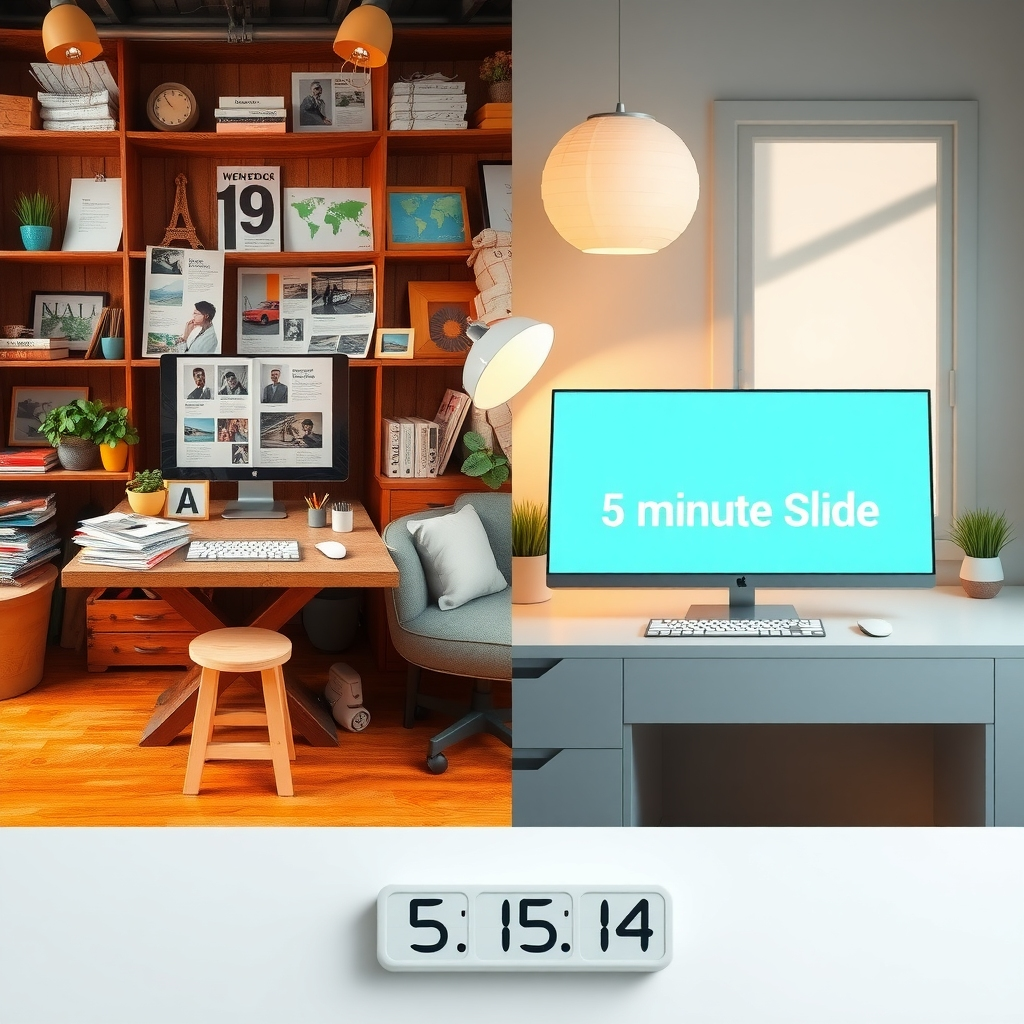
Conclusion: Small Changes, Big Impact
The difference between amateur and professional-looking slides often comes down to a handful of small but significant choices. By implementing these quick fixes, you can transform your presentation from “meh” to memorable in just minutes.
Remember, great design isn’t about flashy effects or complicated layouts. It’s about clear communication, visual hierarchy, and intentional choices that guide your audience through your content effortlessly.
So the next time you’re staring at a slide that makes you wince, don’t panic. Take five minutes, apply these tweaks, and watch your presentation transform before your eyes. Your audience may not be able to identify exactly what changed, but they’ll certainly notice the difference in how they receive and remember your message.
And isn’t that the whole point?
Paul Mansfield is a PowerPoint designer with over 30 years of experience transforming corporate presentations from boring to brilliant. He believes that great design should be accessible to everyone, not just design professionals. Learn more at paulmansfield.net at major industry events.